
I wasn’t the only one who celebrated her birthday last month. A good friend of mine has her birthday 2 weeks before me. For me the birthday of others is always a good and a bad thing. The good thing is that there’s cake and celebration, the bad thing is I have to think of a present. Don’t get me wrong. I love to give presents to people and I honestly don’t care how much they cost (with a certain rage of course) or that they take a lot of time (for handmade gifts) if I have the feeling the gifted person is genuinely happy with it. I always hesitate to give handmade presents because I always have the feeling that people only like those because of the gesture. Like my mum who got so many paintings from little me. I can’t really imagine how you can make a happy face after the 153rd. (I guess I have to be a mum myself to understand this mystery.)
Well back to the purpose of this post and my friends birthday: she’s a crafter herself and I knew that she would appreciate a handmade gift. That’s why I made her a plate and a cake. I’m actually so happy with the combination: handing over a cake and the plate is for you to keep as well?! Genius. At least that’s what I thought. And I’m sure my friend too. First the hero was the cake …

All you need is:
– 3 eggs
– 1 cup sugar
– 1 cup sour cream
– 1/2 cup oil
– 1 tbsp Vanille sugar
– 1 cup flour
– 1/2 cup poppy seeds
– 1/2 cup chopped dark chocolate
– 1 tbsp baking powder
For the cream & topping
– 1 cup sour cream
– 1/2 cup cream cheese
– 3 Tbsp sugar
– 3 Tbsp poppy seeds
– 1 tsp cinnamon
Preheat the oven to 180 ° C. Beat the eggs with the white sugar and Vanille sugar. Add slowly the oil and sour cream and combine well. Fold in the flour, baking powder, poppy seeds and dark chocolate. Line a baking tray with paper and spread the sponge on the baking parchment. Bake for 20 mins and let it cool down.
For the cream mix the sour cream with the cream cheese and the sugar. Spread it on the cake. Mix the poppy seeds with the cinnamon and sieve it on top of the sheet cake. Voilá!
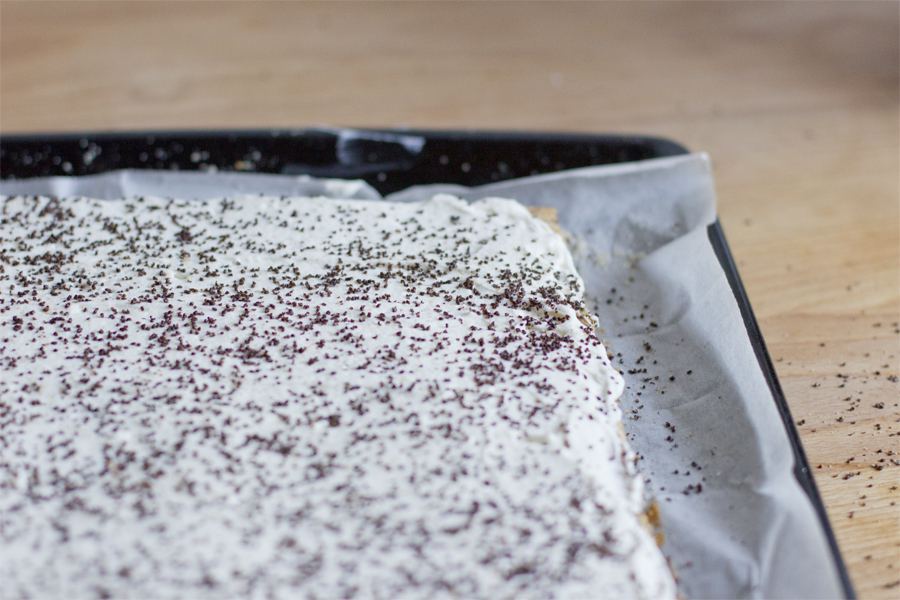
This cake doesn’t look like much but it’s just so delicious! It could easily be one of my favorite. No. It certainly is one of my favorites!

I made the plate the same way as this Valentine’s day present for my boyfriend and what a surprise it was! The text is german and means “more space for cake”. Unfortunately it’s not dishwasher-safe. My friends tried. Well, such a gem needs to be taken care of, so only washing by hand! Luckily they can just bring me the plate and I restore it. So no harm done!

The cake was gone in no time as you can see…

Now. Carry on!


